
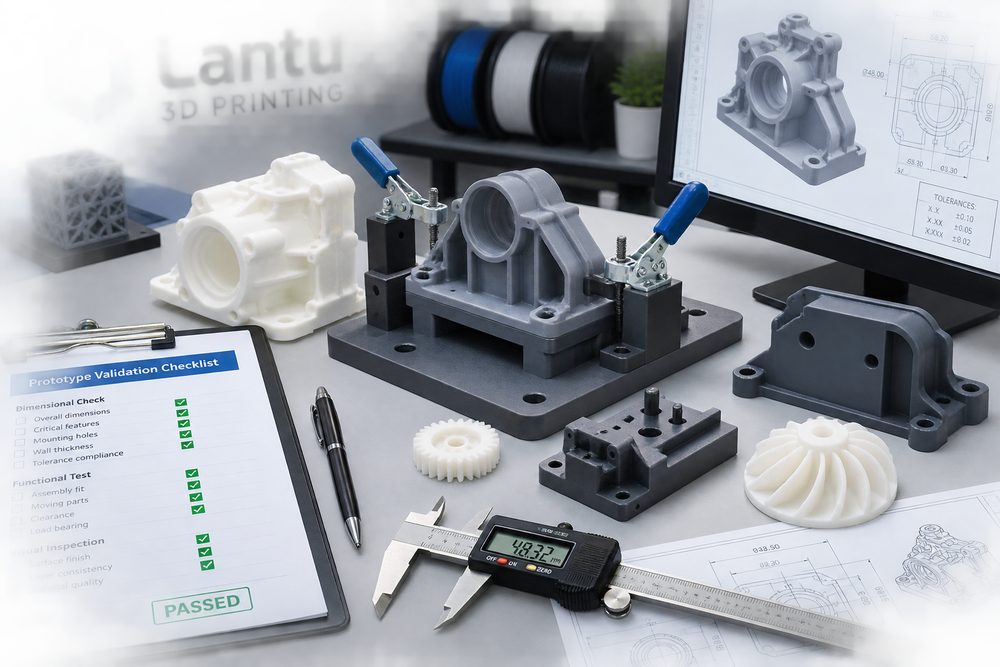
Introduction: Sample Validation Determines Downstream Production Risk
The value of a 3D printed prototype is not only that it shows the shape quickly, but more importantly that it reveals design issues before investing in tooling, CNC mass production, or small-batch manufacturing. Many projects only inspect appearance at the sample stage and ignore tolerance chains, assembly clearances, load paths, and operating environments. As a result, problems such as fragile snaps, shifted hole positions, loose threaded inserts, or thermal deformation are discovered only later. Blueplan 3D treats sample validation as a risk filter between the design drawing and the physical delivery, helping R&D teams reduce repeated prototype builds through a standardized process.
1. Preparation Before Testing: Define What the Sample Must Answer
Sample validation should begin with a clear objective rather than a judgment made after printing is complete. Appearance samples mainly verify proportions, surfaces, color, and ergonomics. Structural samples focus on wall thickness, ribs, clips, screw bosses, and assembly sequence. Functional samples must withstand load, temperature, friction, or fluid exposure. Different goals call for different materials and processes: SLA is suitable for high-detail appearance validation, SLS PA12 is suitable for toughness and assembly verification, MJF is better for more uniform low-volume functional parts, and metal SLM is ideal for hot-end parts, fixtures, or high-strength structural validation.
2. Dimensional Inspection: Build a List of Critical Dimensions
Inspection should not cover every dimension. Instead, identify the key dimensions that affect function. Common items include mounting hole spacing, shaft hole diameter, snap-fit thickness, assembly locating surfaces, seal groove width, screw boss inner diameter, and overall envelope size. For ordinary prototypes, a vernier caliper can be used for checks at the ±0.10-0.30 mm level. High-precision structures may require a CMM or 3D scan comparison. Recording should include the design value, measured value, deviation, measurement tool, photo of the measurement location, and conclusion. If the deviation is directional, inspect print orientation, support surfaces, material shrinkage, and the amount removed during post-processing.
3. Assembly Verification: Move from Single-Part Acceptance to System Acceptance
Many parts measure within tolerance on their own but still fail once assembled into the final product because the tolerance stack-up and assembly sequence were never verified. Assembly tests should record insertion force, thread engagement depth, clearance, interference points, and the number of assembly cycles. For snap-fit structures, perform 10-30 repeated assembly and disassembly cycles to observe whitening, cracking, and recovery. For screw bosses, test whether heat-set inserts remain coaxial after installation. For sliders or hinges, check motion resistance and wear debris. If needed, mark interference areas directly on the sample and then return to the CAD model to adjust chamfers, reliefs, or tolerances.
4. Functional Testing: Validate Under Conditions Close to Real Use
Functional validation should simulate actual operating conditions rather than simply placing the part on a desk. Load-bearing parts can be tested briefly at 1.5 times the working load while observing cracks and permanent deformation. Outdoor parts should be evaluated for UV exposure, humidity, and temperature cycling. Fluid-related parts should be checked for leakage, pressure resistance, and hard-to-clean dead zones. For resin materials, also pay attention to long-term embrittlement and thermal deformation; standard photopolymer resins should not directly replace engineering plastics for durable end-use parts. If the sample is only for concept validation, clearly state the material substitution in the report to avoid mistaking a temporary prototype for the final production solution.
5. Rework Feedback Loop: Turn Every Prototype into Reusable Knowledge
After testing, create a problem list and classify items by severity. Issues that affect safety and function must trigger a redesign. Problems that affect assembly efficiency should be optimized. Issues that only affect appearance can be addressed based on cost. Each issue should be linked to its CAD location, root-cause analysis, recommended change, and retest items. For example, a hole that is too small may result from print shrinkage, post-processing coating, or insufficient design tolerance. The solution may be to increase the hole diameter by 0.2 mm, change the print orientation, or switch to secondary machining. Only by closing the loop and documenting the issues can the next product version avoid the same detours.
Conclusion: Sample Validation Is an Engineering Decision, Not a Formality
A high-quality sample validation process should cover objective definition, critical dimensions, assembly relationships, functional conditions, and the rework feedback loop. With quantified data, photographic evidence, and version records, 3D printed prototypes help teams make early decisions about materials, structures, and processes, reducing cost waste and delivery risk in later production stages.
Submit a model, drawing, image or written notes. Engineers will review material, process, finishing and delivery based on actual use.