
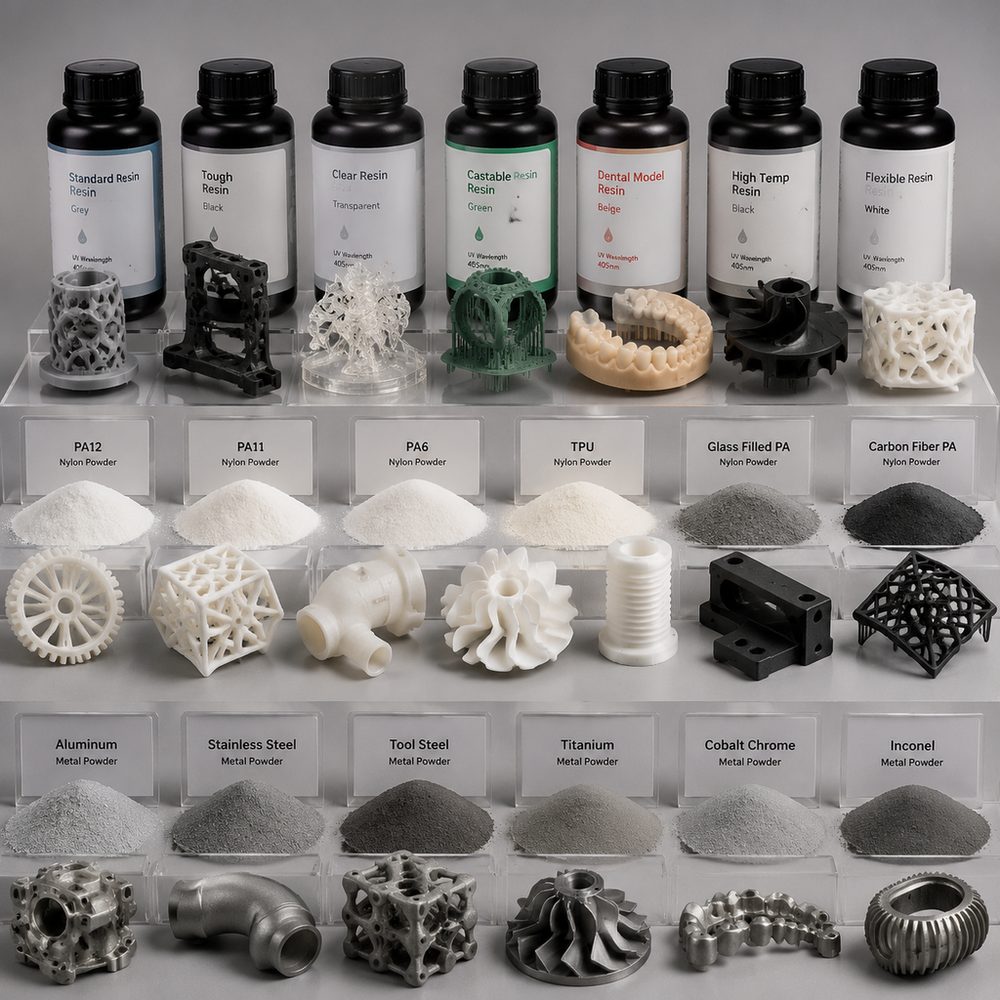
Basic characteristics of transparent resin materials
Transparent resin is a special material used to manufacture transparent parts in SLA/DLP light-curing 3D printing. Compared with standard resins, transparent resins are colorless and transparent after curing and have high light transmittance. They are suitable for making optical components, lampshades, display models, liquid containers, etc. The molecular structure of the transparent resin is designed to make the cross-linked network formed during the curing process more uniform and reduce light scattering. The tensile strength of typical transparent resin is 50-65MPa, the flexural strength is 80-100MPa, and the heat distortion temperature is about 50°C. When choosing transparent resin, you need to pay attention to the light transmittance index of the material. The light transmittance of high-quality materials can reach 88-92%.
The impact of printing parameters on transparency
The printing parameter settings of transparent resin directly affect the transparency performance of the final part. The layer thickness is recommended to be set at 0.05mm to obtain the best surface quality. A thinner layer thickness can reduce the step effect between layers. The exposure time needs to be precisely controlled. If it is too low, the parts will be insufficient in strength, and if it is too high, the parts will turn yellow. It is recommended to fine-tune the parameters recommended by the material manufacturer, usually within the range of 6-10 seconds. It is advisable to control the post-curing time to 15-20 minutes. Excessive post-curing will cause the material to age and turn yellow. The printing direction also affects transparency, with flat printing having better surface transparency than vertical printing.
Key post-processing steps to improve light transmittance
To achieve high light transmittance, transparent resin prints need to go through a systematic post-processing process. The first step is support removal and cleaning, using alcohol to clean thoroughly to remove uncured resin. The second step is fine sanding, using 400-grit to 2000-grit sandpaper to wet-sand step by step to eliminate the step texture on the surface. The third step is polishing, using polishing paste and polishing wheel for mechanical polishing to achieve a mirror-like gloss on the surface. The fourth step is dipping treatment, spraying or dipping UV curing transparent coating to fill the surface micropores and improve the gloss. Finally, there is a secondary UV curing to completely integrate the coating with the part.
Key points for manufacturing optical grade transparent parts
For optical application grade transparent parts, additional process control is required. The first is material selection, which requires optical grade transparent resin with optimized light transmittance and refractive index indicators. The second is environmental control. The printing environment needs to be kept dust-free to avoid the adhesion of particulate matter that affects transparency. The third is mold design. For surfaces that require high transparency, the support contact area can be reduced through design optimization. The fourth is coating selection. The optical grade transparent coating needs to match the refractive index of the substrate to avoid interface reflection loss.
Typical application scenarios and case sharing
Transparent resin parts are widely used in many industries. In the field of electronic products, it is used for mobile phone casing prototypes, LED lenses, optical light guide plates, etc. In the automotive field, it is used for car lamp cover prototypes, dashboard light-transmitting parts, etc. In the medical field, it is used for dental guides, surgical instrument prototypes, etc. In the field of display models, it is used for building model windows, water effects, product display shells, etc. Each application scenario has different requirements for transparency, and post-processing plans need to be developed based on specific needs.
Submit a model, drawing, image or written notes. Engineers will review material, process, finishing and delivery based on actual use.