
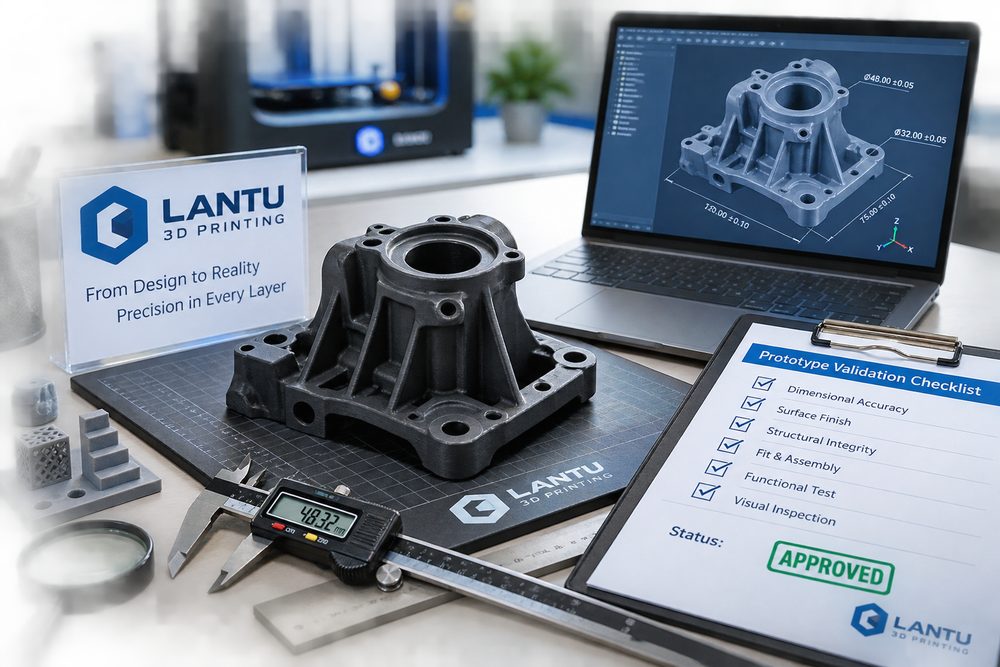
Introduction: 3D Printing Sample Validation Is Moving from Experience-Based Management to Data-Driven Operations
When many companies use 3D printing for prototypes, they tend to confuse validation with visual presentation. In fact, a prototype in the R&D stage typically serves at least three purposes: visual confirmation, assembly verification, and functional risk screening. Different objectives require different materials, accuracy levels, and post-processing approaches.
1. Define Quantifiable Business Scenarios and Boundary Conditions
The first step in sample validation is requirement freeze. At project launch, the validation objective should be clearly defined: is the goal to confirm the ID appearance, structural assembly, fluid channels, fixture positioning, or simulation of end-use loads? For example, for enclosure parts, appearance validation can use high-precision SLA resin with a layer height of 0.05-0.10 mm, while assembly validation is better suited to tougher nylon or ABS-like resins.
2. Break Down Risk and Delivery Responsibility Through Process Checkpoints
The second checkpoint is manufacturability review. Engineers need to check minimum wall thickness, hole compensation, support surfaces, drainage holes, thread formation methods, and allowance for post-processing. For example, if the wall thickness of an SLA transparent part is below 1.2 mm, it is prone to cracking after washing and curing; if a thin, long SLS nylon part lacks reinforcing ribs, it may warp during cooling.
3. Lock Parameters, Data, and Acceptance Criteria Into the System
The third through fifth checkpoints are first-part printing, inspection, and functional testing. The first part must record the slicing version, orientation, layer height, infill or scan strategy, and post-processing time. Dimensional inspection should distinguish between critical dimensions and reference dimensions. Critical hole locations, snap fits, and assembly surfaces can be verified using calipers, coordinate measuring machines, or scan comparison.
4. Continuous Improvement: From Single-Order Review to Organizational Capability Building
The final value lies in retrospection. Every sample validation should produce a clear output: whether the design passed, what needs to be changed, why it needs to be changed, and what the next version should focus on. If revision feedback is left scattered across chat records, the second prototype is likely to repeat the same mistakes.
Conclusion
Reliable prototypes come from a clear validation chain. Requirement freeze sets the direction, manufacturability review reduces print failure rates, first-part testing verifies engineering assumptions, and retrospection makes experience reusable.
Submit a model, drawing, image or written notes. Engineers will review material, process, finishing and delivery based on actual use.