
lantu3D

Text and Marking Design for 3D Printed Parts: A Complete Solution from Embossing to Laser Engraving

Text and marking design for 3D printed parts is often overlooked, yet it plays a critical role in product traceability, compliance, and user experience. Whether it is a serial number, brand logo, safety warning, or assembly instruction, a clear and durable marking system is essential. Compared with traditional manufacturing, 3D printing offers unprecedented freedom to integrate text and identification directly into the part geometry, enabling a true design-to-manufacture workflow.
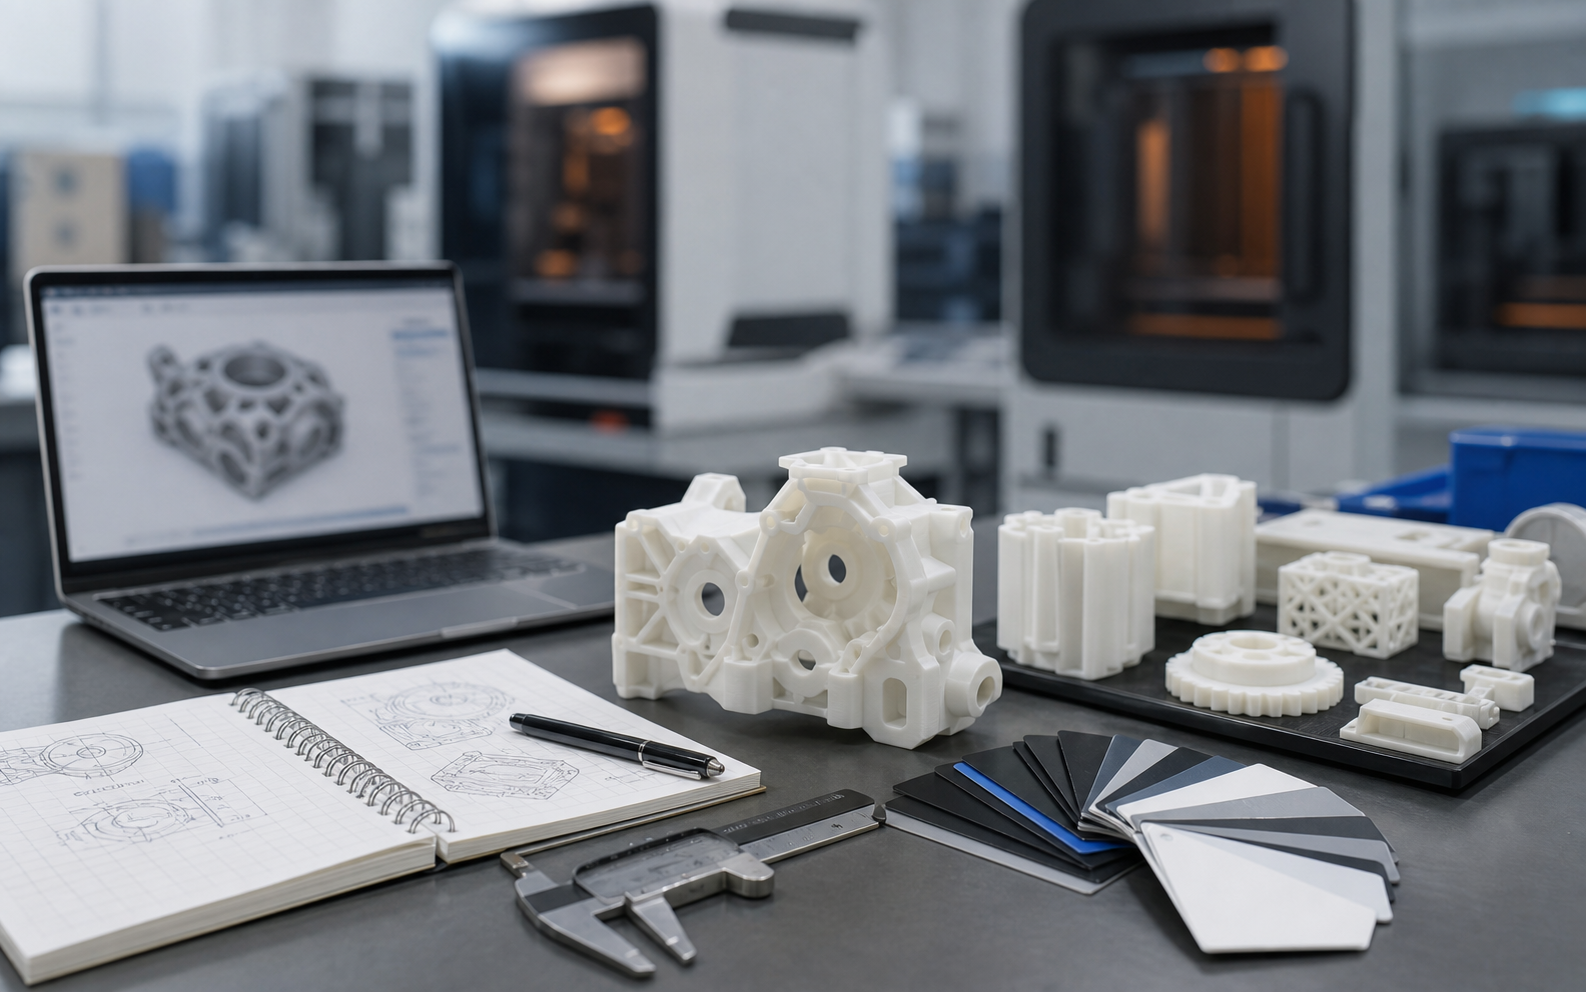
Text and Marking Design for 3D Printed Parts: A Complete Solution from Embossing to Laser Engraving
# Text and Marking Design for 3D Printed Parts: A Complete Solution from Embossing to Laser Engraving ## Introduction: The Importance of Product Identification In the design and manufacturing workflow for 3D printed parts, text and marking design is often overlooked, yet it carries critical functional value. Whether it is a product serial number, brand logo, safety warning, or assembly instruction, a clear and durable marking system is fundamental to ensuring traceability, compliance, and user experience. According to the manufacturing quality traceability standard ISO 9001:2015, all industrial parts must have unique identification capability, and 3D printing provides unprecedented design freedom to achieve this requirement. In traditional manufacturing, text and markings are usually added after forming through secondary processes such as screen printing, laser engraving, or labeling. This not only increases process complexity but can also become a quality risk point. The advantage of 3D printing is that text and markings can be directly formed as part of the part geometry, enabling an integrated "design is manufacturing" workflow. However, text design in 3D printing is not simply a 2D text mapping problem; it is a complex engineering task that must take into account process characteristics, material properties, readability requirements, and post-processing considerations. ## Selection Strategy for Raised and Recessed Text When adding text to a 3D printed part, the first decision is whether to use embossing or engraving. Embossed text refers to lettering raised above the surface, while engraved text is recessed below the surface. These two approaches each have advantages and disadvantages in 3D printing, and the right choice depends on the application. The main advantage of embossed text is durability. Because the lettering is part of the base material and protrudes outward, it remains legible even after surface finishing such as sandblasting, sanding, or coating. For parts used outdoors for long periods or handled frequently, embossing is the more reliable choice. In addition, embossed text has a stronger three-dimensional appearance, making it suitable for brand logos or product names. However, embossing increases surface roughness and may interfere with fit or sealing performance, and the protruding edges of the text can be damaged during transport. Engraved text is better suited for surfaces that require a flush fit. Because the lettering is recessed, the main surface of the part remains flat and does not interfere with assembly or sealing. During later painting or coating, engraved text can create a distinctive visual effect: if coating thickness is well controlled, the grooves retain the base color and form a two-tone contrast. The drawback is that recessed text can collect dust and liquids, so extra care is needed in environments with high cleanliness requirements such as medical or food applications. In addition, if the engraving depth is insufficient, the text may be difficult to read when visible layer lines are present. ## Font Selection and Readability Design The readability of 3D printed text depends heavily on font selection. Not all computer fonts are suitable for 3D printing, and the following design principles should be followed: **1. Advantages of sans-serif fonts** Sans-serif fonts such as Arial, Helvetica, and Source Han Sans perform better in 3D printing because they do not have small decorative strokes. The fine serifs in serif fonts are容易 to lose detail when the layer height is relatively large, such as 0.2 mm or above, resulting in blurred text. **2. Minimum stroke width** For FDM printing, the minimum width of a single stroke should not be less than 0.8 mm, which is about 2–3 extrusion line widths. SLA and SLS can achieve finer details, but a stroke width of at least 0.5 mm is still recommended. Strokes that are too thin are not only difficult to print but are also easily damaged during post-processing. **3. Character spacing and line spacing** 3D printed text requires greater character spacing than flat graphic design. It is recommended to set character spacing to 1.2–1.5 times the normal value to prevent adjacent characters from merging. Line spacing should be at least 1.5 times the character height to avoid stacked blur. **4. Practical font size guidelines** For product identification, the minimum recommended font height is 4 mm. For warning labels that must be recognized from a distance, the font height should be at least 10 mm. Testing shows that in FDM printing, 6 mm-high text printed at a 0.2 mm layer height already provides good readability. ## Text Implementation Tips for Different 3D Printing Processes **Text design guidelines for FDM** FDM text is most affected by layer lines. To improve readability, the following is recommended: - Keep the text surface as parallel as possible to the build platform to avoid deformation on angled surfaces - For small text, print with a 0.1–0.15 mm layer height - Avoid overly thin fonts; prefer bold styles - Consider using a "hollow letter" design, meaning only the text outline is printed, to reduce infill time **Text design guidelines for SLA photopolymer printing** SLA can achieve higher detail resolution, but the following should be noted: - Recessed text may deform due to resin shrinkage during curing; a 0.1–0.2 mm shrinkage compensation is recommended - Raised text must be handled carefully during support removal to avoid damaging fine strokes - For serial numbers requiring high precision, a 0.05 mm layer height is recommended **Text design guidelines for SLS nylon sintering** SLS printed text has a grainy surface, so the design should consider the following: - A minimum stroke width of 1.0 mm or more is recommended to prevent powder residue from clogging the letters - Engraving depth should be no less than 1.5 mm to ensure that depowdering can fully remove internal powder - Avoid very small font sizes; a minimum height of 8 mm is recommended **Text design guidelines for metal 3D printing** Metal additive manufacturing (SLM/DMLS) has the strictest text requirements: - Due to thermal stress and surface finishing processes such as sandblasting and polishing, extra allowance must be reserved for text dimensions - A minimum stroke width of 1.5 mm and a minimum depth or height of 1.0 mm are recommended - Avoid sharp corners; all corners should have a radius of at least R0.5 mm ## The Impact of Post-Processing on Text Quality Post-processing after 3D printing can significantly affect the final quality of text, so it must be considered during the design stage: **Sanding and polishing** Sanding removes material from the surface. For embossed text, excessive sanding can make the lettering thinner or even erase it. It is recommended to reserve 0.3–0.5 mm of sanding allowance during design. For parts that require a high-gloss finish, engraved text is the better choice because polishing will not wear down the lettering. **Sandblasting** Sandblasting creates a uniform rough texture on the surface, but it also slightly erodes the edges of text. For fine text, heat-resistant tape can be used to protect the text area before sandblasting and removed afterward. **Painting and screen printing** If secondary coating is required on a 3D printed part, engraved text can naturally create a stencil-like effect. Coat the entire part first, then fill the engraved text with a contrasting color, and finally remove any overspill from the surface to obtain a clear two-tone mark. This method is more durable than direct screen printing. **Laser engraving** For markings that require very high precision or wear resistance, laser engraving can be applied after 3D printing. In this case, 3D printing only needs to provide a flat surface, and a laser engraving depth of 0.1–0.3 mm is enough to create a permanent mark. This method is especially suitable for serial numbers, QR codes, and other machine-readable information. ## Recommendations for Standardizing the Marking System To ensure consistency and traceability of product identification, it is recommended to establish an internal company standard for 3D printing mark design: 1. **Standardize marking location**: Define specific areas of the part, such as non-mating surfaces or areas near ribs, for markings to prevent interference with function 2. **Standardize font and size**: Use one or two fonts consistently and define minimum font sizes according to part dimensions 3. **Standardize content format**: Define serial number coding rules, such as date-line-serial number, to ensure complete information 4. **Standardize process parameters**: For different materials and processes, define ranges for text depth/height, stroke width, and related parameters 5. **Standardize inspection criteria**: Establish readability acceptance criteria, such as being clearly legible at a distance of 300 mm Through systematic marking design, 3D printed parts can not only meet functional requirements but also enhance product professionalism and brand value. As additive manufacturing becomes increasingly widespread, mastering best practices for text and marking design has become an essential skill for 3D printing engineers. ## Conclusion Text and marking design for 3D printed parts is a multidisciplinary practice that combines aesthetics, engineering, and manufacturing processes. From font selection to process compatibility, from post-processing considerations to standardization, every step requires careful design. As 3D printing continues to advance toward greater precision and reliability, the ability to directly form text and markings will become an important indicator of print quality. Design engineers should consider marking requirements early in a project and treat them as an inseparable part of product design rather than as a late-stage correction. Only in this way can the full value of 3D printing technology be realized.
Next Step Is this close to what you need?

Submit a model, drawing, image or written notes. Engineers will review material, process, finishing and delivery based on actual use.

Submit Request Ask First